Homemade Kombucha
Emma Lovewell: Episode 24
“My new obsession is making kombucha at home. It requires the perfect amount of work and passiveness, and it doesn’t go bad if you forget about it for a few days. I like to compare it to owning a goldfish as a pet — very minimal maintenance. You check in on it every once in while and its in a big glass jar of liquid. It also kind of fascinates me — there’s a live culture growing and living inside of this liquid, and every day it looks a little different.” – Emma Lovewell shares a recipe from her blog.
1 gallon glass jar
1 cup of white sugar
piece of cut up t-shirt for the top, with a rubber band
A scoby (there are kits where you can make your own, or you can get one from a friend who already makes kombucha which is what I did.) When your friend gives you their scoby make sure they include 2 cups of kombucha tea from their last batch with the scoby.
6 tea bags (black, oolong, green)
Directions
- In a large pot heat 5 cups of water. Just hot enough that sugar will melt in the water.
- Turn off heat and place 1 cup of white sugar and mix, place tea bags in liquid as well and let steep for a few hours, while simultaneously letting your liquid cool to room temperature.
- Remove tea bags and put liquid mixture into your glass gallon container. Fill the rest up with room temperature water. Leaving a few inches at the top for the scoby and cups of past kombucha tea.
- Place your scoby into the mixture with kombucha tea. The scoby may sink to the bottom at first and then in a few days float to the top. Its all OK.
- Put t-shirt or fabric over the top with rubber band to hold it in place.
Now, depending on how warm the weather is, or how much light is in the room will depend on how quickly your kombucha will be ready. The ideal temperature is 75 degrees, and you should store it in a moderately dark place. You will need to let it sit for 7-30 days, I prefer around 10-14 days personally. The longer you let it sit the more vinegary it will taste. As you let it sit a new scoby will start to form at the top of the liquid, (this is the part that is most fascinating to me.) It looks like a white jelly fish floating at the top, covering the entire surface area of the liquid. It will get thicker and whiter every day. And will probably start forming on day 3 or 5. Here comes another fun part:
S E C O N D F E R M E N T A T I O N
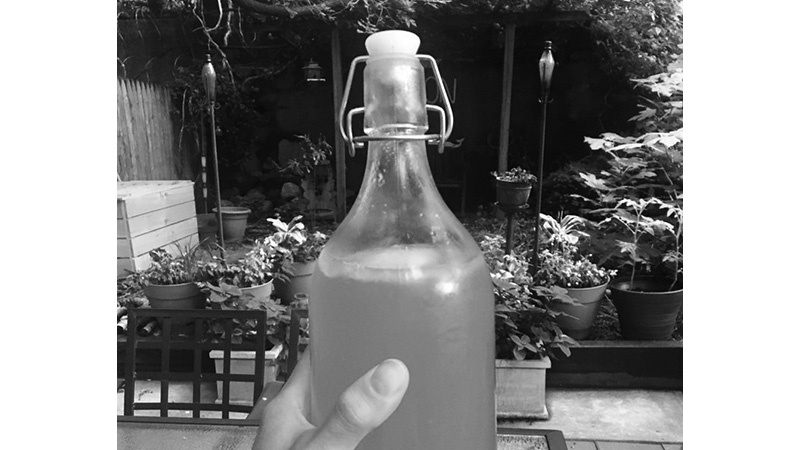
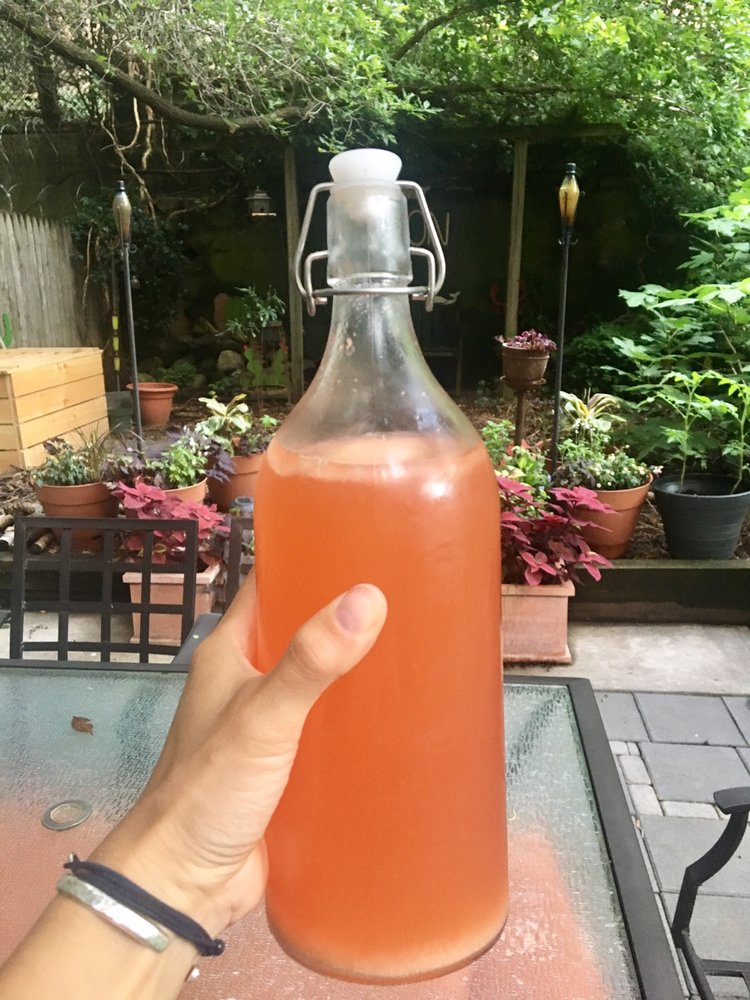
If you want to flavor your kombucha, as I like to, I recommend doing a second fermentation. It will also make your kombucha more carbonated, which is fun. So once your kombucha tea is done and cultured, you can poor the liquid into smaller sealable glass containers. Leave a couple inches at the top, so do not fill all the way. From here you can pick which flavor you want. Here are a few that I recommend: beet and ginger; strawberry and ginger; pineapple and ginger. Can you tell I like ginger? Basically any kind of fruit juice is good, because the kombucha will continue to eat off of the sugar from the fruit juice, and create carbonation. Again, i’m not a scientist, just go with it.
- Blend fruit/ginger in a blender. For one gallon of tea I used one raw beet and a chunk of ginger around 2 in x 1 in.
- Pour fruit mixture into bottles of kombucha tea (use a funnel). You can strain the pulp out of the fruit, or leave it, up to you!
- Seal the bottles and leave on your counter top for 2-3 days.
- Use CAUTION when opening the bottles up, there will be carbonation and it can bubble and overflow making a mess. I recommend opening the bottles over the sink and with a kitchen towel on top.
- Refrigerate to enjoy cold!


Subscribe
Keep up with all the Peloton news!